

How To Rescalen Helmet Template For Kids?
Supplies Needed
- A4 or Letter size cardstock
- Crayons or whatever water-based paint (east.g. affiche paint, tempera, acrylic paint)
- Pair of scissors
- Glue
- Gold glitter glue or puffy pigment (optional)
- Plastic gems (optional)
STEPS
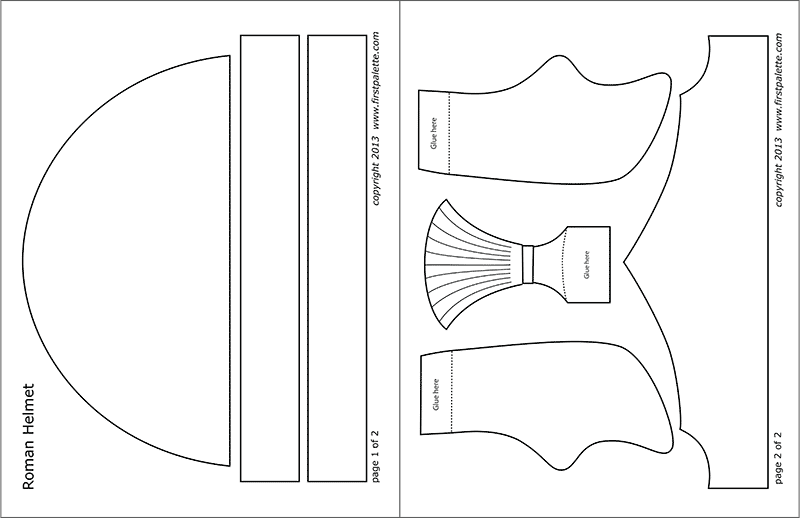
1Print out the template.
Choose from any of these Roman Imperial Helmet templates. For this craft tutorial, nosotros chose the plain template to demonstrate the basic steps for making a paper roman helmet and the diverse ways yous can decorate it.
If you lot adopt a quicker and simpler option, you can print out the ready-to-colour template or the colored helmet template.
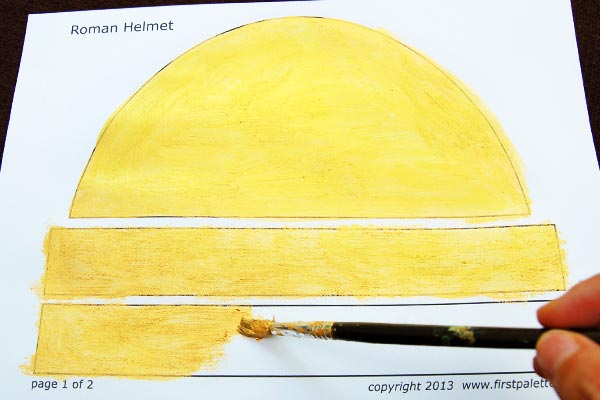
2Color the template.
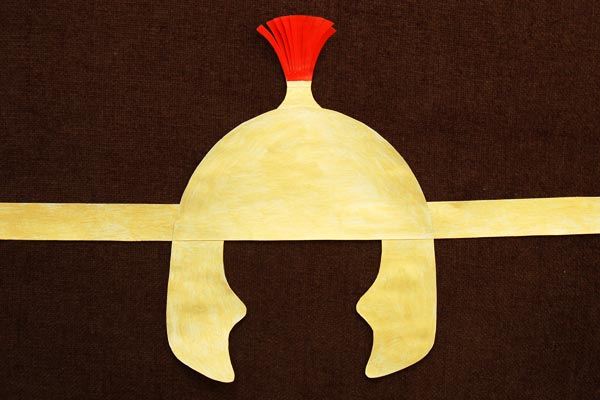
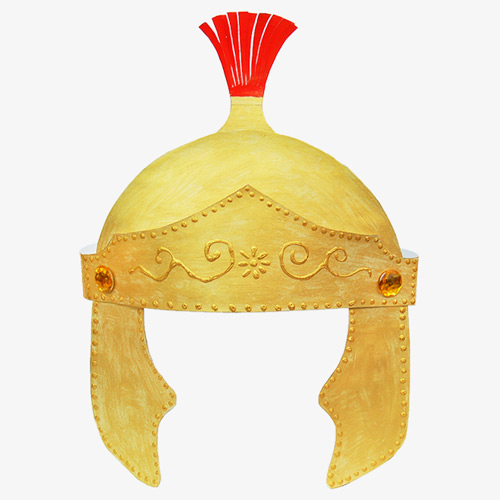
The get-go page consists of the main helmet piece and a pair of long direct bands. Paint the pieces with a metal colour such as gilded or silver tempera, poster, or acrylic paint. Instead of painting, you tin can likewise colour the pieces with crayons or oil pastels.
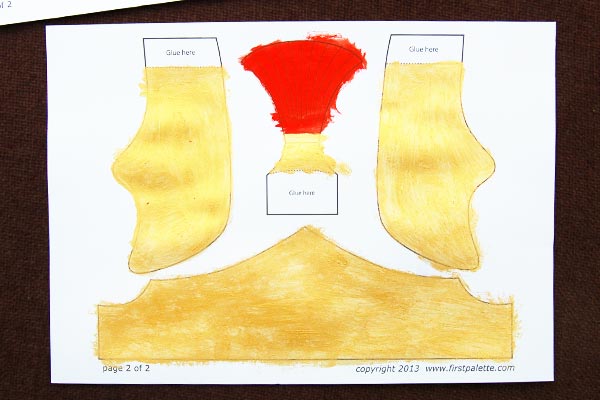
The second folio includes a crown-like visor, a pair of curvy cheek guards, and a crest. Paint all of these with gold or silver paint except for the top role of the crest. Paint the fan-like portion of the crest cherry-red. Also discover that the cheek guards and the crest have tabs labeled with the words "Glue hither". Get out these tabs unpainted.
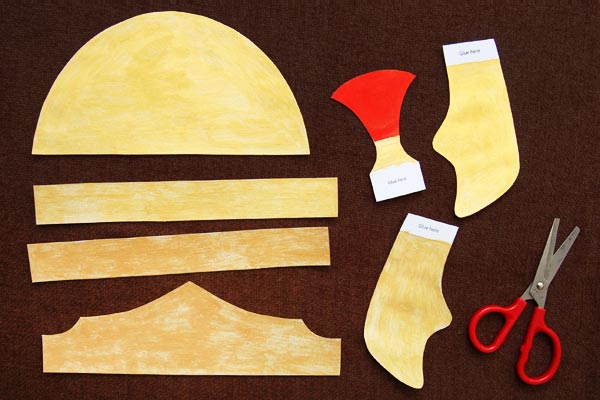
3Cutting out the template.
One time the paint dries, cut out all the template pieces.
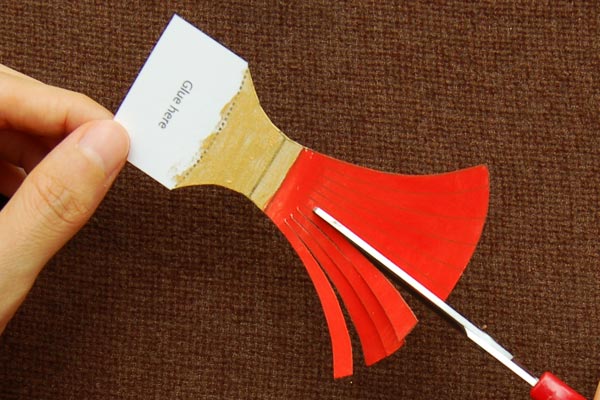
fourCut fringes on the crest.
Take the crest. Cut slits following the inside lines to create fringes.
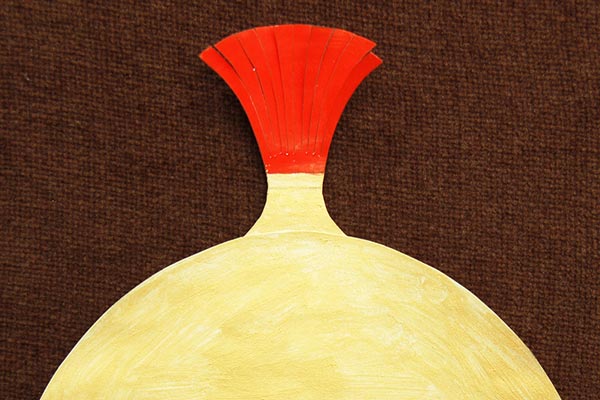
5Glue the crest.
Employ glue on the crest's lesser tab. Glue the tab behind the top portion of the main helmet piece.
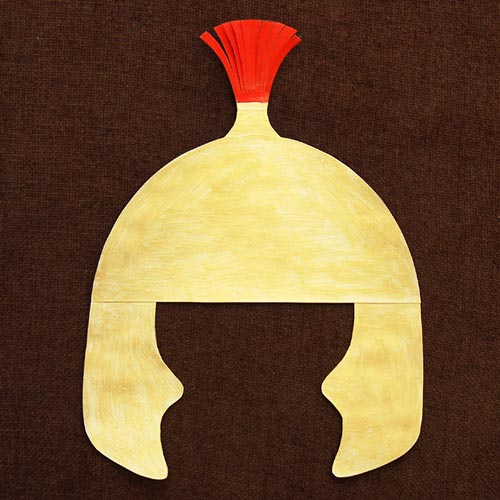
6Glue the cheek guards.
Glue the pair of cheek guards onto the bottom corners of the helmet. The peak tab of each cheek baby-sit must be positioned backside one lesser corner of the helmet.
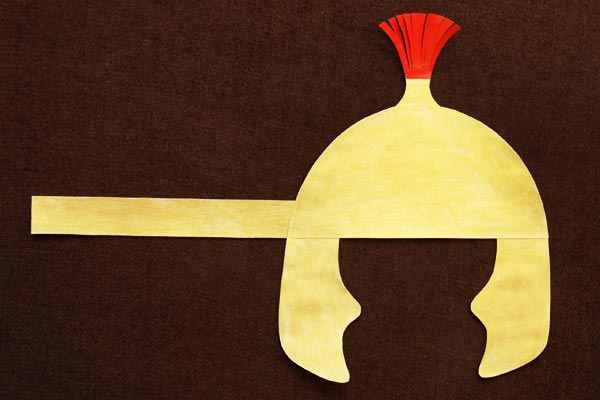
viiGlue one band on the left.
Adjacent, mucilage one straight band backside the helmet'southward bottom left corner. Marshal the band'due south bottom edge with those of the helmet'due south.
viiiGlue the other band on the right.
Gum the second directly ring onto the helmet's bottom correct corner.
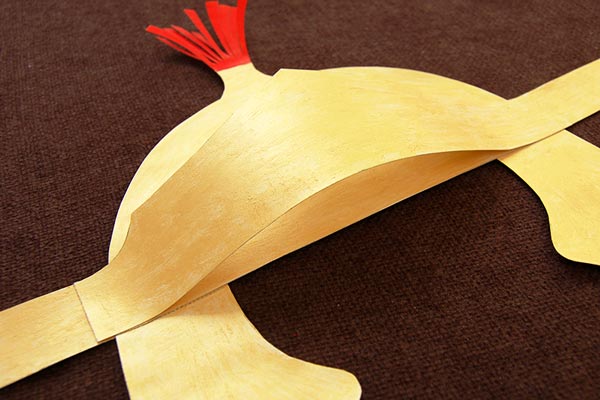
ixGum the visor.
Glue each corner of the visor close to the junction between the direct band and the helmet. This will crusade the visor to slightly pop out, breaking the flatness of the helmet.
This stride completes a basic Roman helmet. To wear the helmet, simply bring together the bands together to fit around your head. In instance you desire to embellish the helmet, continue with the steps below.
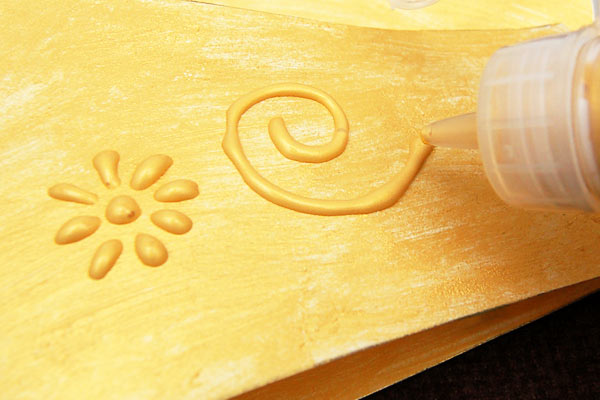
10Decorate the helmet.
Use glitter gum, puffy paint, or colored mucilage to decorate the helmet with embossed lines. Scrolls, curvy lines, leaves, flowers, and dots are elements often found in Roman helmets.
Yous tin besides glue on plastic gems, sequins, or precious stone-fashion stickers for added texture.
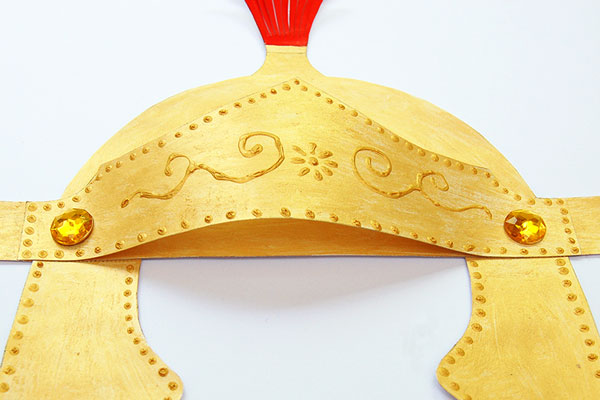
11Create a pair of rivets.
Glue on a pair of large plastic gems, buttons, or round newspaper cutting-outs to create the "rivets" on each corner of the visor. You can also depict the rivets using glitter mucilage, puffy paint, or colored gum.
12Glue the ends together.
Once everything is dry, glue or staple the ends of the bands together to fit around your head.
More than Ideas
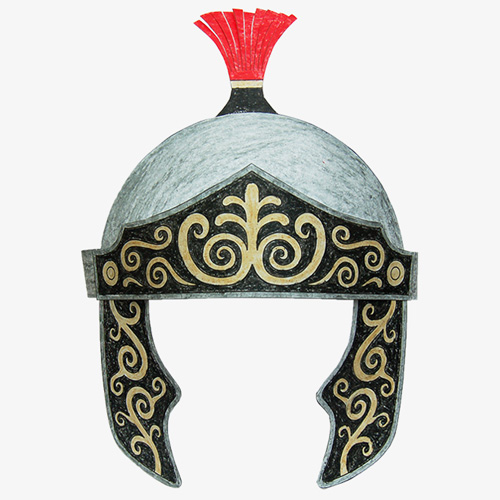
Emphasis the helmet with other colors.
In addition to gold or silver, colour the helmet with black, brown, and other metallic colors to create accents.
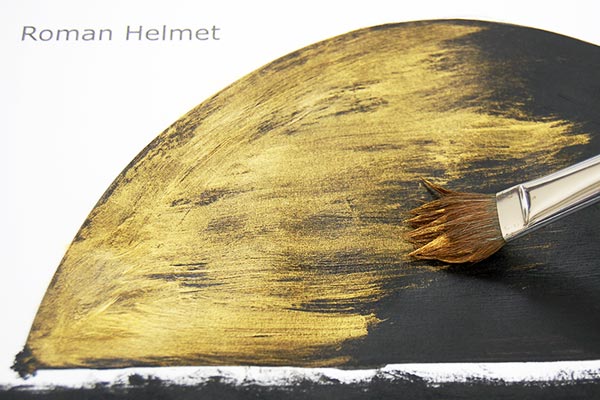
Apply dry out castor strokes.
Achieve a worn or ancient effect past painting the templates with two layers of paint. Beginning, pigment all the pieces with a base of operations colour such every bit blackness or dark brownish.
Once dry, apply a second layer of gold or silver pigment using dry brush strokes so that the base of operations paint partially shows through. To exercise this, dip the tips of a dry paint brush onto aureate or silver pigment. Apply onto the helmet in quick uneven strokes.
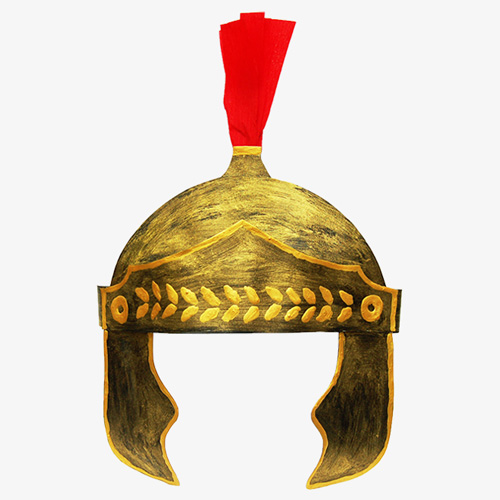
Make a crepe newspaper crest.
Create an interesting crest by trimming off the fan-like crest on the template and gluing on some red feathers or a rolled-up piece of red crepe newspaper. The steps for making a crepe newspaper crest are described below.

To make a crepe newspaper crest, cut out a rectangular slice out of cherry crepe newspaper. Mine is around 6 x v inches. Cut evenly-spaced slits starting from ane long side and stopping about 1 to ane½ inches from the opposite side. Continue until you've cut slits along the entire length of the crepe newspaper. Concur the crepe paper on one corner of the uncut edge. Carefully whorl the unabridged piece.
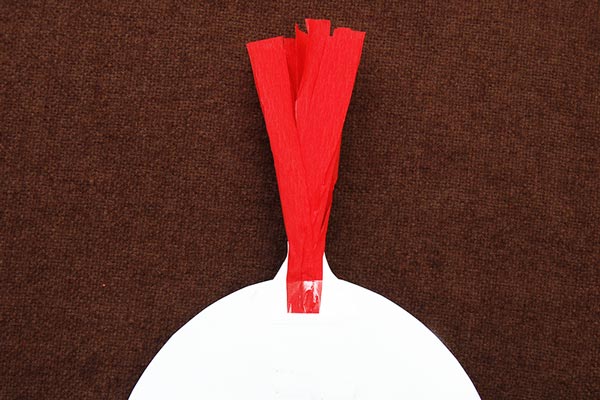
Tape the base of the crepe paper crest at the back of the helmet'due south topmost portion.
You Might Also Like
Comments

How To Rescalen Helmet Template For Kids?,
Source: https://www.firstpalette.com/craft/roman-imperial-helmet.html
Posted by: johnsonequallown.blogspot.com
0 Response to "How To Rescalen Helmet Template For Kids?"
Post a Comment